Crafty Betty

Projects 115-118 of 365: Snow Swirled and Delightful Decorations Cards December 21, 2010

Hi all,

I’ve got some more Christmas cards for you…..Can you believe Christmas is just a few short days away!!!  I’ve barely started my Christmas shopping…LOL…..good thing I always give out a lot of handmade gifts….

On another note….. I just got braces on my teeth last week.  I had no idea the pain people really go through with these things!!!  I was expecting the teeth to be sore, no surprise there, but I had no idea how badly these things tear up the insides of your cheeks!!!  This is insanity-level pain, and I only have the top ones on right now (won’t be getting the bottom ones for another 3 months because they have to move the top ones a bit to get the lower ones to fit.).  And I also love how they wait to spring on the list of foods you can’t eat until they already have these torture devices on….. There are TONS of healthy foods on the list of things you can not eat…. so I better stock up on the vitamins.  Can’t have (or at least have to be very very careful with) raw vegetables, whole apples, nuts, popcorn, etc…..I know its logical, but it doesn’t mean I have to like it 🙂   On the other hand….On the suggested list are ice cream, cake, brownies, pudding….Doesn’t it sound like a license to go junk food crazy???  🙂

On to the cards….  All of these cards are pretty quick to finish, so if you still need to make more cards before Christmas hop to it, and try these on for size…

Project 115 of 365: Delights of the Season

115 of 365

115 of 365: Delights of the Season

Not much explanation needed for this one, just a simple card pieced together, but don’t you just love that ornament punch.  I could not have been happier than when I saw that Stampin Up had made two more stamp sets to use with this punch (Contempo Christmas and Tags Til Christmas), and they are both MUST HAVE sets!!!  (please ignore the sloppy glue marks on this one…..this was one of the earlier versions when I was experimenting with what to do with the strings on the ornaments….tiny glue dots are much less noticeable than using actual glue…)

Stamp Sets:  Delightful Decorations, Many Merry Messages

Project 116 of 365: Decorate with Joy


116 of 365

116 of 365: Decorate with Joy


Stamps Used: Delightful Decorations

Project 117 of 365: Snow Swirled Resist

117 of 365

117 of 365: Snow Swirled Resist

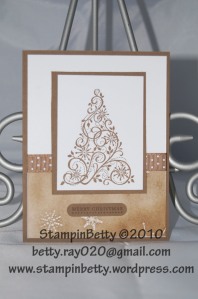
This card happened because I had seen a really similar card online somewhere last year, but I didn’t have the really pretty patterned paper that they had used on the bottom of the card….So I did what I do best….I improvised and made my own patterned paper.  I started with a plain old sheet of whisper white card stock.  Then I used my versamark glue pad to randomly stamp the snowflakes from the Snow Swirled Stamp Set all over my 12×12 sheet of cardstock.  I then sprinkled it with Iridescent Ice Emboss Powder and used my heat gun to emboss it.  After that I used a sponge dauber and Soft Suede Ink to rub all over the paper.  In person this really looks so much more beautiful and sparkly than in the picture.  It actually looks quite suede like from the rubbing of the ink across the paper and purposely applying the ink uneven.  This is one of those projects where it pays off to be sloppy 🙂  (this technique is called Emboss Resist.)

Stamps Used:  Snow Swirled, Teeny Tiny Wishes

Project 118 of 365:  Snow Swirled Navy


118 of 365

118 of 365: Snow Swirled Navy


Ask anyone who has ever done a Christmas card class and they will likely tell you that I am obsessed with heat embossing.  I just love the effect, the smooth raised texture of the ink.  It just looks so classy and professional.  And running a close second to heat embossing would be using any of the emboss folders or texture plates in my Sizzix Big Shot.  “Texture, Texture, Texture” is my motto and I can’t get enough of it when I’m making cards!!  Seriously, all these texture effects are soooooo easy and so much cheaper than the been-there-done-that patterned paper that everyone has.  So don’t be intimidated by that heat gun, give it a shot, you will be hooked just like me.

If you are wondering how I got the tree and the greeting lined up so straight…..check out the Stamp-A-Ma-Jig (yes, that ‘s its real name.)  If you are a perfectionist this will be your best friend!!

Stamps Used:  Snow Swirled

Hope you guys are more prepared than I am for Christmas day 🙂

Stop Back Soon For More Fun!!!

StampinBetty


Project 100 of 365: Midnight Musings Web October 4, 2010

Ok….One more card, then really I’m going to bed…LOL!  I seriously do need to get to bed, otherwise I’m going to oversleep my first day at work….

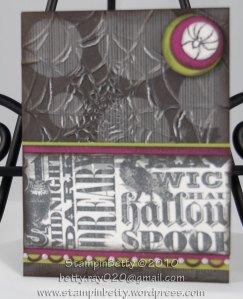
This card is based on a card by Phyllis Johnson, but I did make quite a few changes.  Again, since its Halloween, I dirtied up all the pieces (I’m still sticking to my guns….Halloween isn’t supposed to be pretty…hehe), purposely made it so all the pieces weren’t so perfectly lined up and even, added some spooky glam with pearl stickles, and replaced some of the expensive Designer Paper with my homemade patterned paper.

Project 100 of 365: Midnight Musings Web:

100 of 365

100 of 365: Midnight Musings Web

Don’t you just love how the spider web emboss folder makes the dsp crack a little, letting the white core just peek through….Helps add to the disorder of the Spooky Halloween Cards.

100 of 365

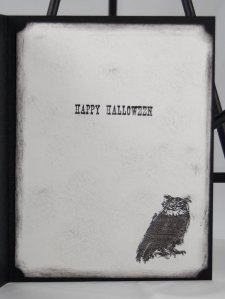
100 of 365: Midnight Musings Web- Inside

Supplies:

Paper:

  • Basic Black
  • Old Olive
  • Rich Razzleberry
  • Whisper White
  • Wicked Fun DSP

Stamps:

  • Dark & Dreary
  • Midnight Musings Jumbo Wheel
  • All Holidays (for inside the card)

Ink:

  • Basic Black

Accessories:

  • Spiderweb Emboss Folder
  • Stickles- Pearl
  • Circle Punches

Woohoo!!  I am finally tired now, so typing up these projects must have been just what I needed… and I’ll still get almost 6 hours of sleep 🙂

Good Night,

StampinBetty


Project 99 of 365: Old Olive Web

I should really be in bed right now, but it always seems like when you really need to sleep you are somehow wide awake.  Tomorrow is my first day back to selling Mercedes Benz, so tonight I have been running around trying to make sure I have everything organized around here so things don’t get too out of whack.  So today has been laundry, packing all my eBay sales so my husband can take over his new role of shipping all the stuff I sell (since I will be leaving for work before the post office opens, and returning home after its closed.), and just trying to figure out how to fit everything into my new schedule.

So now to wind down I’m going to try to post a couple more of those Halloween cards that have been piling up, waiting for their turn to shine here for everyone to see 🙂

Project 99 of 365: Old Olive Web

99 of 365

99 of 365: Old Olive Web

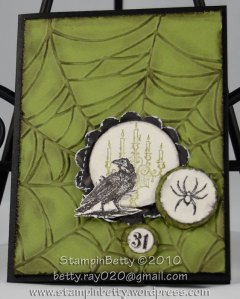
This card was inspired by a card I saw by Elizabeth Price.  The only differences are that I added an extra layer by making the card black, and layering the web embossed Old Olive piece on top of it, then I roughed up the edges on EVERYTHING and distressed it all further by rubbing black ink all over.  The way I see it Halloween cards should not be pretty and orderly…The should be dirty, disorganized, shall we even say scary?  Lol!!

Supplies:

Paper:

  • Basic Black
  • Old Olive
  • Whisper White
  • Wicked Fun DSP

Stamps:

  • Dark & Dreary

Ink:

  • Basic Black
  • Old Olive

Accessories:

  • Spiderweb Textured Impressions Emboss Folder
  • Cutter Kit- Distress Tool
  • Dimensionals
  • Circle Punches
  • Scallop Circle Punch 2″ (this is slightly larger than the SU punch)

Thank you for looking!  Come Back Soon.

StampinBetty


Project 35 of 365: Season of Friendship in Baja Breeze June 25, 2010

Hi All,

Have no fear…I am keeping up on making all of my projects 🙂  I have a bunch to post for you today, but we will just have to see how far I get as I have some friends coming over tonight.  More precisely I have my “non-crafting” friend and her daughters coming over again, and I am soooooo picking on her, because guess why she is coming over???  You got it….she decided she wanted to make hats for when we go to watch Eclipse on July 2nd.  It was all HER idea, and she even went to the craft store all by herself and picked up a bunch of stuff to use.  LOL.  Another non-crafter is hooked 🙂  So tonight we will make up some ideas for these hats and then tomorrow we will start working on them.  I think we have to make 12 in total, so this is going to be fun!!

But until she gets here in about an hour, I thought I’d try to start posting some of the cards I have been working on this week.  So enough with the chit chat, its straight to business today 🙂

Project 35 of 365: Season of Friendship in Baja Breeze

35 of 365

35 of 365: Season of Friendship in Baja Breeze

Sorry for the slightly blurry photos…not quite sure what was going on between me and the camera today, but all three photos I took were a little blurry.

Supplies:

Paper:

  • Baja Breeeze Textured
  • So Saffron
  • Whisper White

Ink:

  • Melon Mambo
  • Chocolate Chip
  • Old Olive

Stamps:

  • Season of Friendship
  • Sweet Little Sentiments (retired hostess set)

Accessories:

  • Diamond Glitter Stickles
  • Dimensionals

Okay, I got one done, and they are almost here already.  I’ll try to post more later tonight 🙂

Betty


Project 17 of 365: Three simple and sweet 10 minute cards June 3, 2010

Hi All!!

So I just found a way to put a positive spin on the fact that Stampin’ Up! is increasing the price on cardstock….Hello!!! With the addition of the clear mount stamps, which are sold for an average of $3-7 less per set, that really goes a long way to make up for the $1.50 per pack increase in the 8 1/2 x 11 cardstock.   It also encourages me to work more with alternative sizes of paper.  Most people know that I have mostly gravitated to the standard A2 (4 1/4 x 5 1/2) card.  Probably because I get 2 of them out of each 8 1/2 x 11 sheet of paper, and the A2 envelopes are always readily available…..If I am ever out of my Stampin’ Up! envelopes I can always run to any office store, or Target/Walmart-type stores to grab some in a pinch (not that I’m ready to walk back into a Target store again…..see posts from last week for details of the nightmare experience.)

I noticed that the 12×12 paper isn’t changing all that much in price, so I decided to try out some 4×4 notecards because you can get 4 cards from the 12×12 paper and still have a 4×4 square of scrap paper for punching and such left over.  And rather than purchase the more expensive envelope made for this size card…..they easily fit in the A2 envelope 🙂

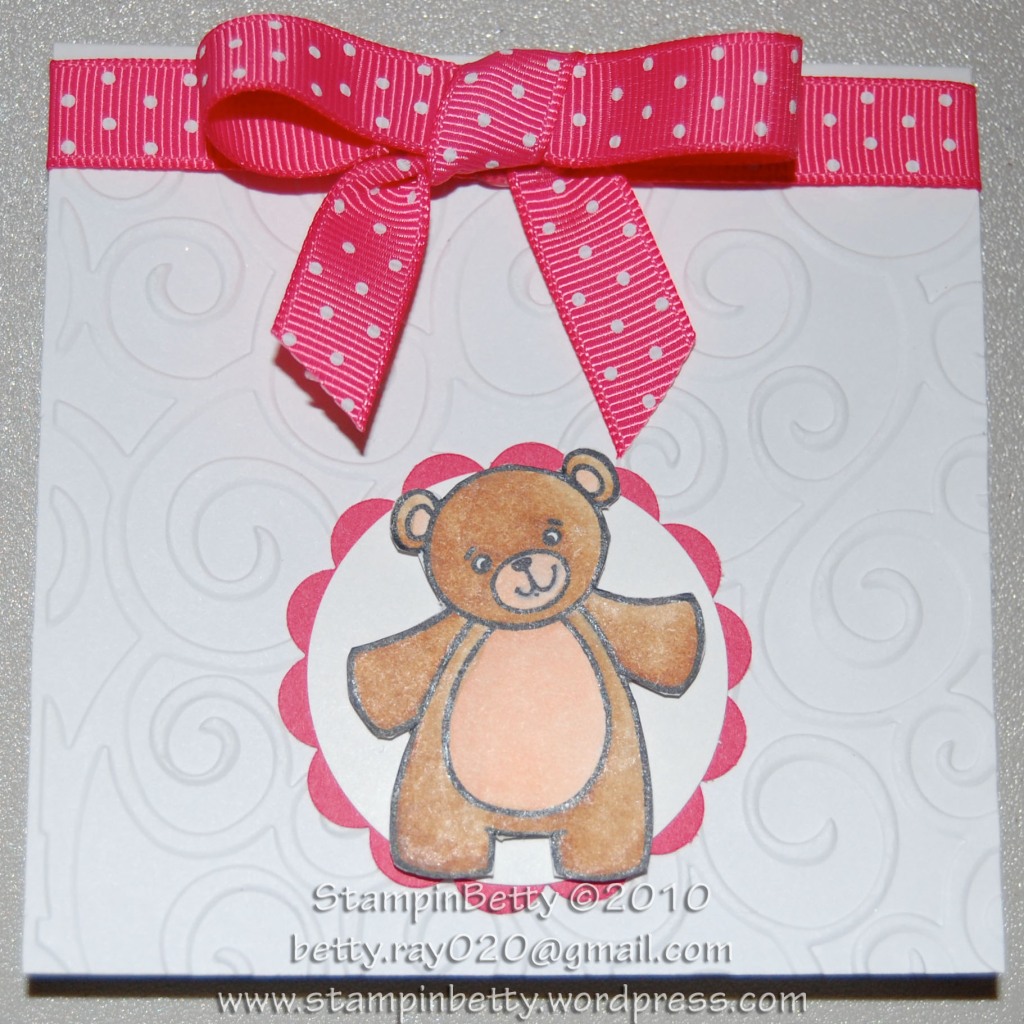
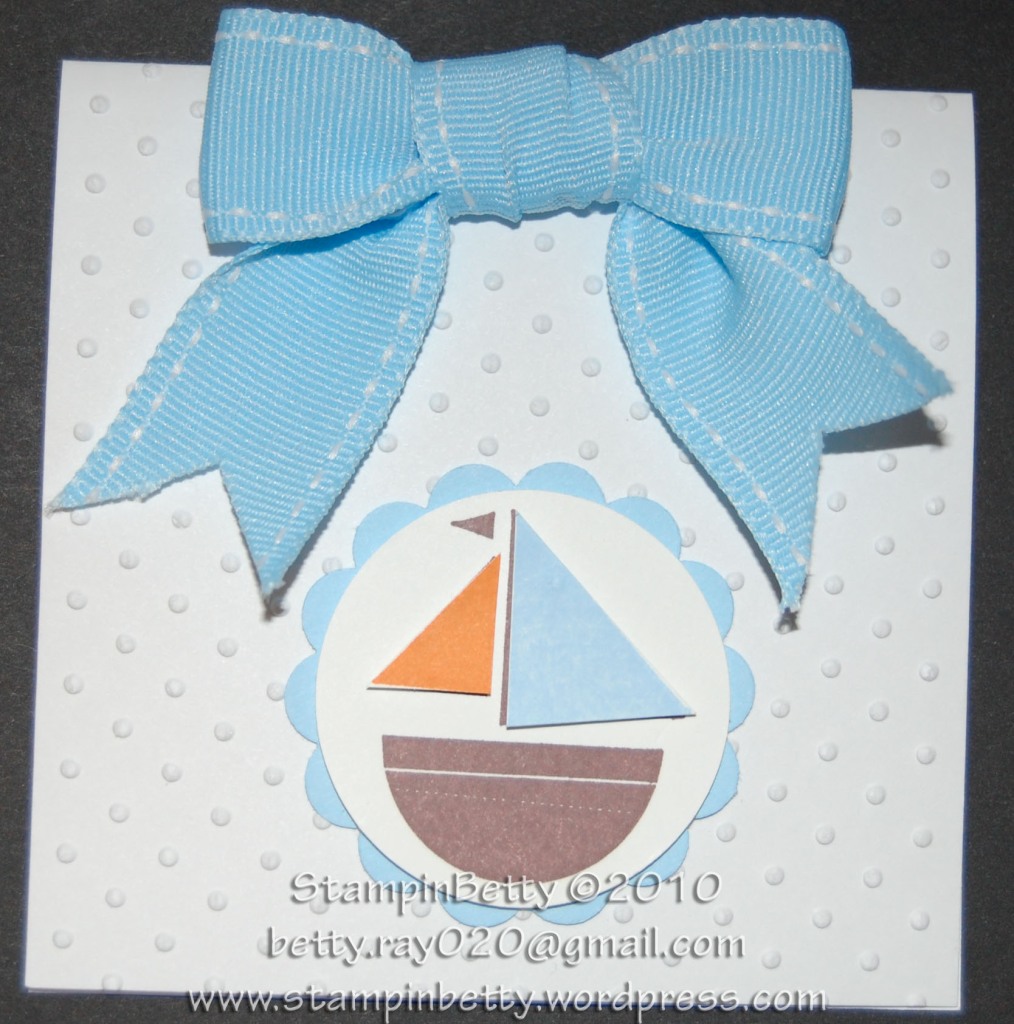
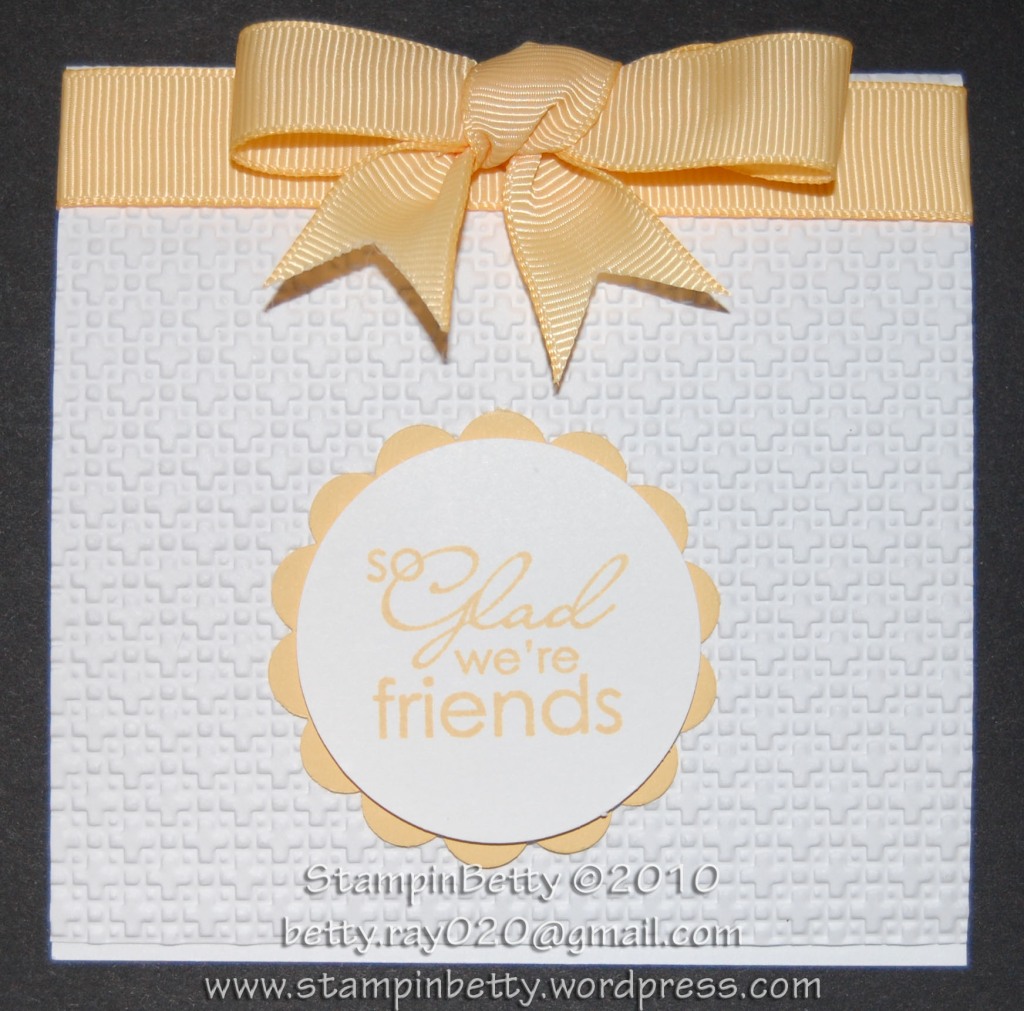
The inspiration for these very sweet, extremely simple cards comes from this weeks Featured Stamper over at Splitcoast Stampers.  This week they named “Emily” as the featured stamper, and I chose to “case” her card titled “True Friend“.  When I saw the simple embossed white background with a cute ribbon on the top, I was off and running.  With the 3 cards I made I used a different embossed background on each, various different styles of ribbons, and different stamp techiniques.  Yet, each of these cards only takes about 10 minutes to make!!!!  And since there are not tons of layers or fancy folds it is very economical, even with the ribbon.

Another inspiration for these cards was that Stampin’ Up! is retiring my 2 FAVORITE baby themed stamp sets “Nursery Necessities” and “Cute & Cuddly.”  So I just had to use them and encourage you to run over to my Stampin’ Up! site to get yours before they are gone!!! They retire at the end of this month, so get your while you still can….  On my Stampin’ UP! page click the “shop now” button, and then go to the “Last Chance Stamp Sets.”  If you were thinking about any of these sets get them NOW, before they are gone forever.

Project 17 of 365:  Three Simple and Sweet 10 minute cards

17 of 365: Three Sweet & SImple 10 min Cards

17 of 365: Three Sweet & Simple 10 Min Cards

One of the things I loved about these cards was getting to break out my Copic Markers.  Copic Markers are a whole NEW experience in coloring!!!  I am totally and completely in love with them.  I haven’t had them very long, so my technique is not so great yet, but I still love the way it looks even if I am not perfect at coloring with them.  I used my Copics on the stamped bear image.  At one point I actually had the bear WAY too dark, but with the magic of Copic, I did not have to throw it away and start over.  All I had to do was go over the dark areas with a lighter shade of brown a few times, and voila, it lightened up!  These are alcohol markers so you can just continue coloring, layering, blending away, and not crumble up your paper.  Just look at how you can shade without having dramatic lines in between the two colors you are blending together.  Stamped images just look so much LESS flat when you can color, shade, and shadow until your heart is content. 🙂

Stampin’ Up! Supplies:

Paper:

  • Whisper White
  • Bashful Blue
  • So Safron
  • Melon Mambo

Stamps:

  • Cute & Cuddly (on the last chance list so get yours now!!)
  • Nursery Necessities (on the last chance list so get yours now!!)
  • Best Yet (retired Hostess set)

Classic Ink:

  • Bashful Blue
  • Chocolate Chip
  • Pumpkin Pie
  • So Saffron

Accessories:

  • Sizzix Big Shot
  • Lattice Square Emboss Folder
  • Perfect Polka Dots Emboss Folder
  • 1 3/4″ Circle Punch
  • Bashful Blue Stitched Ribbon
  • So Saffron Ribbon (some leftovers I had from SAB 2009)
  • Melon Mambo Polka Dot Ribbon
  • Stampin Dimensionals
  • Snail Adhesive

Non- Stampin’ Up! Items:

  • Copic Markers
  • Memories Black Die Ink (DO NOT use Staz On with Copic Markers, and the Basic Black ink will smudge)
  • 2″ Scallop Circle Punch (slightly larger than SU so it fits around the 1 3/4″ Circle Punch)
  • Cuttlebug D’Vine Swirls Embossing Folder
17 of 365: Melon Mambo Bear

17 of 365 Melon Mambo Bear

17 of 365: Baby Blue Boat

17 of 365: Baby Blue Boat

17 of 365: So Safron Friends

17 of 265: So Safron Friends

A funny story for you to finish off this post…..

While in the process of typing up this post today I managed to get a 13″ scrape down my arm (starting above my elbow, running all the way down my arm, wrist, and halfway up my thumb) and it was not a craft related incident.  Lol!  While working up in my attic office space I could hear someone outside who seemed to be calling for their dogs.  I know that feeling all too well…..  So I got up and looked out my window  I am in the attic…3rd floor) where I can see down the alley and in most of the backyards.  I immediately spotted the 2 dogs, about 2 houses down (as I know the dogs that live there, and these weren’t them).  So I run down the stairs, grabbing some flip flops as I went, out the door, down the alley….I spotted the owner, and told her they were a few houses down, and asked her if the were friendly, she said they were….And for the most part they were.  We were having the darnedest time getting them to come back…we each had a dog by the collar, but they did not want to leave the dogs that were on the other side of the fence.  Eventually her daughter came with leashes and treats.  I hooked a leash on the dog I had, and while he was fine before, he just started JUMPING on me as soon as the leash was on????  He wasn’t angry or anything, at least I don’t think, because he wasn’t trying to bite me, but he just kept jumping on me….maybe he was excited because he thought he was going for a walk.  Well, his nails must be long, because I now have a very stinging scrape (the kind that bubbles up above the skin) running all the way down my arm.  It actually looks like I have a seam down my arm LOL!  Well I guess it makes up for all the times my dogs have gotten overly playful and jumped on visitors 🙂

Until Next Time….

StampinBetty